iOS developers dành phần lớn thời gian phát triển của họ để xử lý UITableView và UICollectionView. Khá đơn giản khi bạn cần hiển thị danh sách có cùng loại dữ liệu, ví dụ: danh sách người dùng. Nhưng nếu bạn cần trình bày một loạt các ô khác nhau trong một khung nhìn bảng? Điều đó có thể dẫn đến một mớ hỗn độn thực sự!
Hãy tưởng tượng trường hợp sau đây. Chúng tôi cần hiển thị nguồn cấp dữ liệu với một loại ô khác; nó có thể là UserCell, CommentCell, ImageCell, v.v.
Giải pháp hiển nhiên nhất là làm cho các câu lệnh trong phương thức tableView (_: cellForRowAt 🙂 và nó có thể trông như sau.
override func tableView(_ tableView: UITableView, cellForRowAt indexPath: IndexPath) -> UITableViewCell {
    let item = viewModel.items[indexPath.row]

    if let user = item as? User {
        let cell = tableView.dequeueReusableCell(withIdentifier: "UserCell", for: indexPath) as! UserCell
        cell.configure(user: user)
        return cell
    } else if let message = item as? String {
        let cell = tableView.dequeueReusableCell(withIdentifier: "MessageCell", for: indexPath) as! MessageCell
        cell.configure(message: message)
        return cell
    } else if let imageUrl = item as? URL {
        let cell = tableView.dequeueReusableCell(withIdentifier: "ImageCell", for: indexPath) as! ImageCell
        cell.configure(url: imageUrl)
        return cell
    }

    return UITableViewCell()
}
ViewModel:
class TableViewModel {
let items: [Any] = [
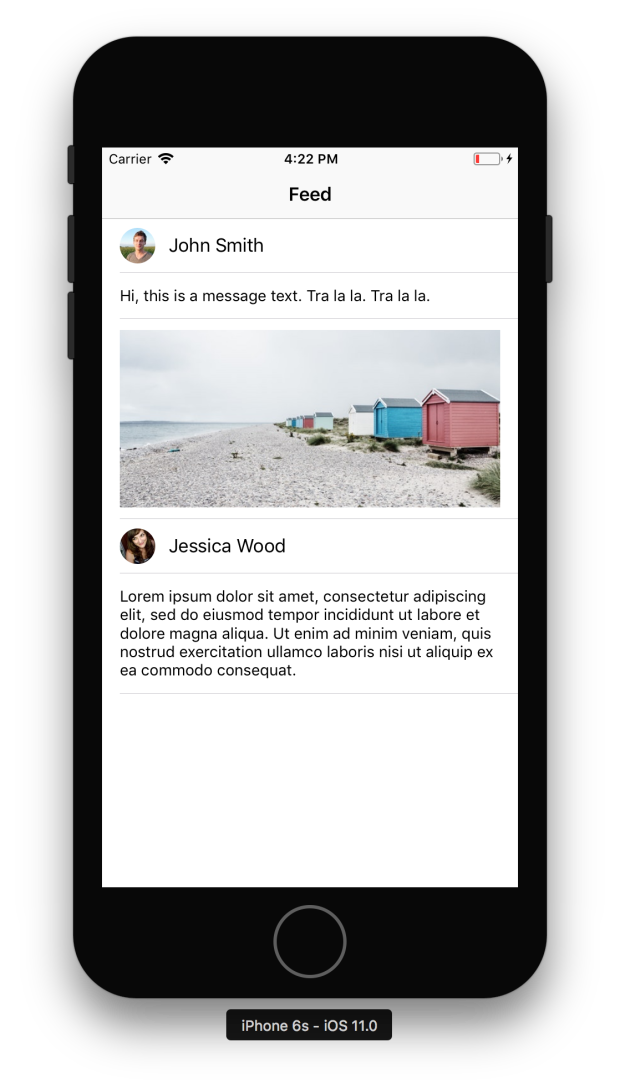
User(name: "John Smith", imageName: "user3"),
"Hi, this is a message text. Tra la la. Tra la la.",
Bundle.main.url(forResource: "beach@2x", withExtension: "jpg")!,
User(name: "Jessica Wood", imageName: "user2"),
"Lorem ipsum dolor sit amet, consectetur adipiscing elit, sed do eiusmod tempor incididunt ut labore et dolore magna aliqua. Ut enim ad minim veniam, quis nostrud exercitation ullamco laboris nisi ut aliquip ex ea commodo consequat."
]
}
Đoạn code này có một vài vấn đề:
- “If statements”, Nó có thể trở nên rất lớn và khó đọc được nếu như số lượng cell tăng lên.
- Ép kiểu ( as! )
- Mỗi kiểu dữ liệu chúng ta chỉ có một cell.
- Boilerplate code.
Chúng ta hãy làm nó đơn giản hơn, rõ ràng hơn và thanh lịch hơn.
override func tableView(_ tableView: UITableView, cellForRowAt indexPath: IndexPath) -> UITableViewCell {
    let item = viewModel.items[indexPath.row]

    let cell = tableView.dequeueReusableCell(withIdentifier: type(of: item).reuseId)!
    item.configure(cell: cell)

    return cell
}
Ưu điểm:
- Không if statements.
- Không typecasting.
- Không boilerplate code.
- Bạn không cần phải thay đổi code khi số lượng cells phát triển
- Sẵn sàng sử dụng lại code
Nhưng làm thế nào để đạt được kết quả này? Đó là khi chương trình chung đi vào hoạt động!
Chúng ta là i<T> với generics
Mã chung cho phép bạn viết các chức năng và loại linh hoạt, có thể tái sử dụng và các loại có thể hoạt động với bất kỳ loại nào, tùy thuộc vào các yêu cầu mà bạn xác định. Bạn có thể viết mã để tránh trùng lặp và thể hiện ý định của nó theo cách rõ ràng, trừu tượng.
Tài liệu Apple
Lập trình generic là một cách tuyệt vời để tránh mã boilerplate và giúp xác định lỗi trong thời gian biên dịch.
Hãy tạo một giao thức đầu tiên mà mỗi ô phải phù hợp.
protocol ConfigurableCell {
    associatedtype DataType
    func configure(data: DataType)
}

//example of UserCell
class UserCell: UITableViewCell, ConfigurableCell {
    @IBOutlet weak var avatarView: UIImageView!
    @IBOutlet weak var userNameLabel: UILabel!

    func configure(data user: User) {
        avatarView.image = UIImage(named: user.imageName)
        userNameLabel.text = user.name
    }
}
Bây giờ chúng ta có thể tạo một bộ cấu hình generic cell để cấu hình các cell trong bảng của chúng ta.
protocol CellConfigurator {
    static var reuseId: String { get }
    func configure(cell: UIView)
}

class TableCellConfigurator<CellType: ConfigurableCell, DataType>: CellConfigurator where CellType.DataType == DataType, CellType: UITableViewCell {
    static var reuseId: String { return String(describing: CellType.self) }

    let item: DataType

    init(item: DataType) {
        self.item = item
    }

    func configure(cell: UIView) {
        (cell as! CellType).configure(data: item)
    }
}
CellConfigurator – chúng ta cần giao thức này vì chúng ta có thể giữ các lớp generic trong mảng mà không cần định nghĩa các kiểu dữ liệu.
TableCellConfigurator – lớp chung với các ràng buộc kiểu cho CellType và DataType. Chỉ có thể định cấu hình ô nếu DataType của ConfigurableCell bằng với DataType được sử dụng trong TableCellConfigurator.
Một vài điều chỉnh phải được thực hiện trong ViewModel của chúng tôi.
typealias UserCellConfigurator = TableCellConfigurator<UserCell, User>
typealias MessageCellConfigurator = TableCellConfigurator<MessageCell, String>
typealias ImageCellConfigurator = TableCellConfigurator<ImageCell, URL>

class TableViewModel {
    let items: [CellConfigurator] = [
        UserCellConfigurator(item: User(name: "John Smith", imageName: "user3")),
        MessageCellConfigurator(item: "Hi, this is a message text. Tra la la. Tra la la."),
        ImageCellConfigurator(item: Bundle.main.url(forResource: "beach@2x", withExtension: "jpg")!),
        UserCellConfigurator(item: User(name: "Jessica Wood", imageName: "user2")),
        MessageCellConfigurator(item: "Lorem ipsum dolor sit amet, consectetur adipiscing elit, sed do eiusmod tempor incididunt ut labore et dolore magna aliqua. Ut enim ad minim veniam, quis nostrud exercitation ullamco laboris nisi ut aliquip ex ea commodo consequat."),
    ]
}
Đó là nó!
Bạn có thể thêm các ô mới một cách dễ dàng mà không cần phải chỉnh sửa mã của ViewController.
Hãy thêm một WarningCell vào chế độ xem bảng của chúng tôi.
- Tuân theo giao thức ConfigurableCell.
- Thêm TableCellConfigurator cho ô đó trong lớp ViewModel.
class WarningCell: UITableViewCell, ConfigurableCell {
    @IBOutlet weak var messageLabel: UILabel!

    func configure(data message: String) {
        messageLabel.text = message
    }
}

//cell configurator for WarningCell
TableCellConfigurator<WarningCell, String>(item: "This is a serious warning!")

Hi vọng cách giải quyết này sẽ giúp ích được trong dự án của bạn.
Các bạn vào đây để tham khảo: Github
Thanks for reading!
